
How to Set Up Linkly (Zeller) on PushPOS
-
Download the Linkly installer for Zeller from https://linkly.com.au/resources-support/software/ Choose ‘Lite Installer v5.11.4’

-
Install the Linkly app

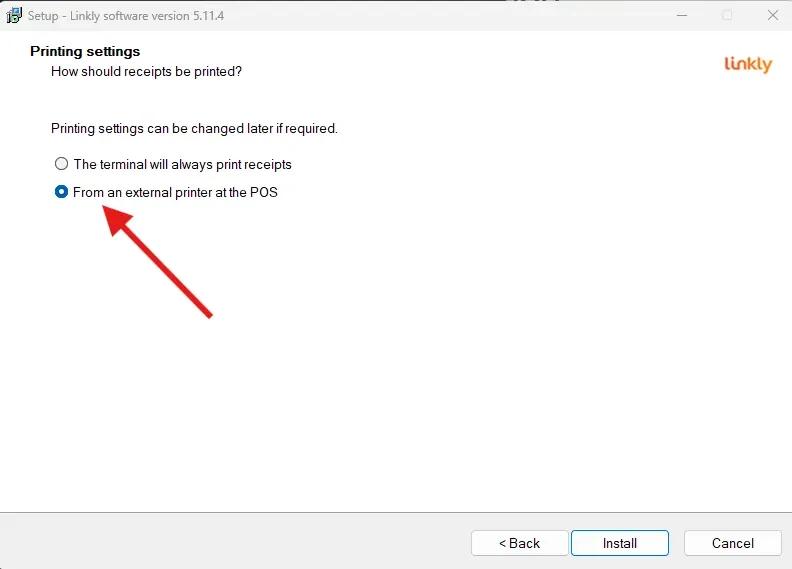
During installation, under Printing Settings, select: “From an external printer at the POS.” This ensures receipts print from the POS, not the Zeller terminal.
After installation, a yellow ‘C’ icon will appear on the taskbar, this means it installed successfully.

-
On the POS, search for “Allow an app through Windows Firewall.”

-
Edit Firewall Settings by clicking ‘Change Settings’

-
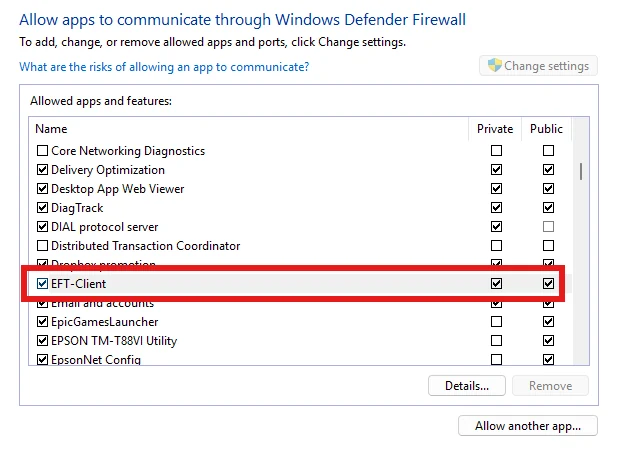
Find EFT-Client in the list. Allow EFT-Client by ticking both Private and Public checkboxes. And Click ‘Ok’ once done.
-
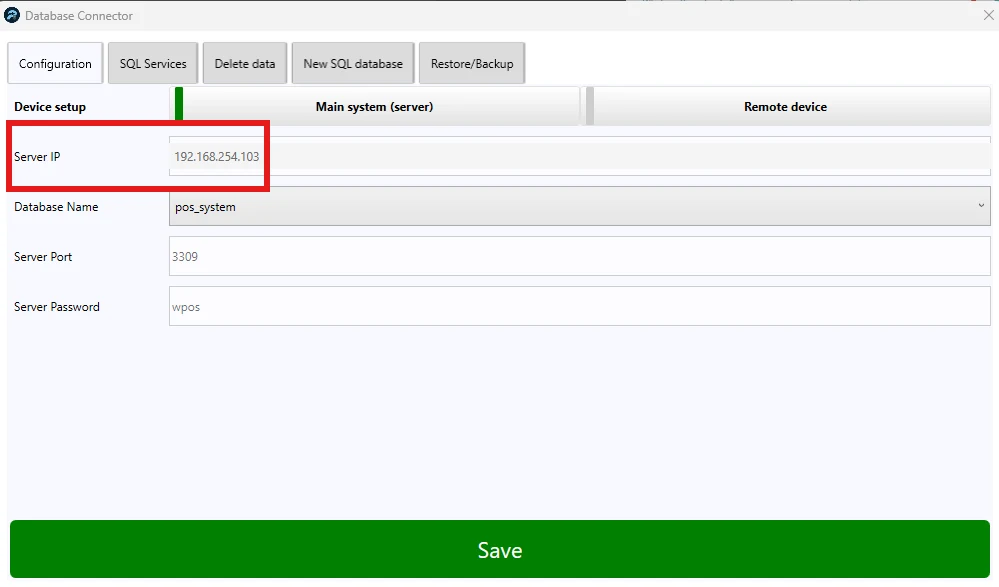
Open Database Connector and log in as admin. Note the Server IP, this will be used when linking the POS to the Zeller terminal.
-
On the Zeller terminal (Refer to Zeller support page)
-
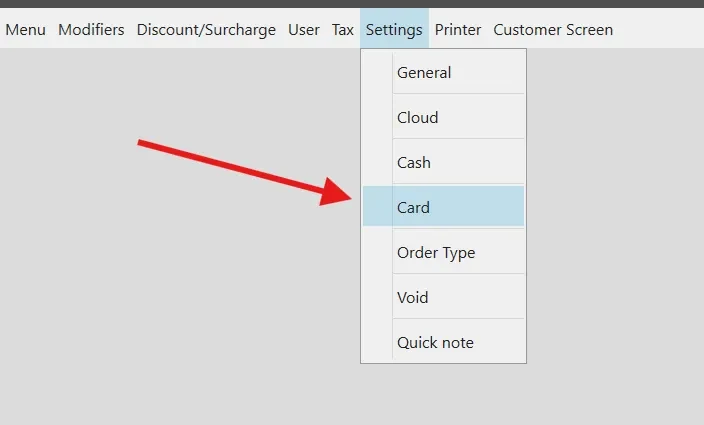
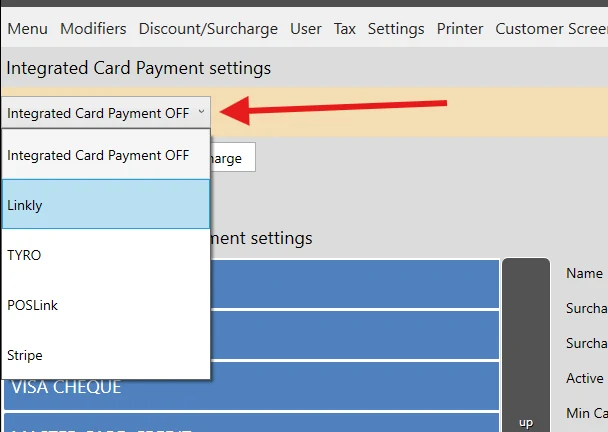
Open the POS Back Office and login as admin. Go to Settings > Card
-
Change ‘Integrated Card Payment OFF’ to ‘Linkly’
-
If the POS successfully connects to the Zeller terminal, the yellow ‘C’ icon turns green.
-
Perform a test order on the POS to ensure payments process correctly.