
How to Install a Bluetooth Printer on a PushPOS Device
Reminder:
- Ensure the printer is not paired with any other device. Restart it if needed.
- POS must be running Windows OS.
- Place the Bluetooth Printer next to the POS Device.
- Print the printer’s MAC Address:
- Hold Paper Feed → Turn printer OFF then ON → Release Paper Feed.
Steps
-
Pair the Bluetooth Printer
- Open Bluetooth Settings on the POS and Add device via Bluetooth then find the printer using the MAC address.
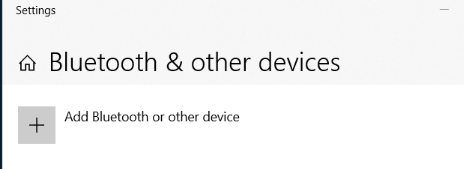
- Pair the device
- Passcode: 0000 (if prompted)
-
Restart Devices
- Restart both the POS and the printer after pairing
-
Install the Printer (Control Panel)
- Open Control Panel → Devices and Printers.
Install the printer (any installation method is fine).
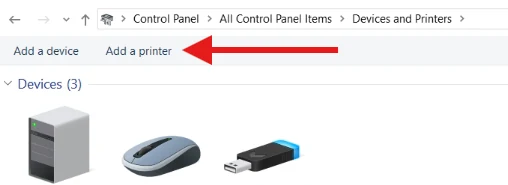
- Open Control Panel → Devices and Printers.
-
Set the Correct COM Port
- Select the printer and go to Printer Properties → Ports.
Bluetooth printers typically use a COM port.
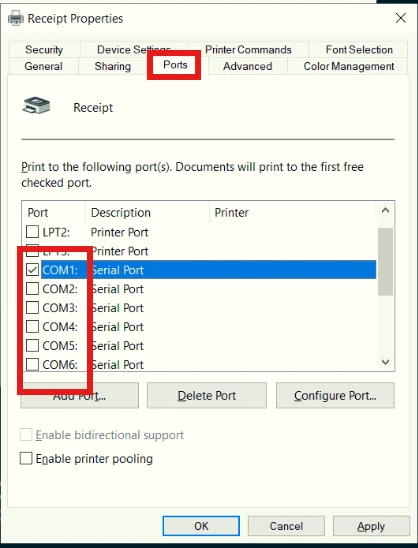
- Test each COM port until the printer output is gibberish text, this means you found the correct one.
- Select the printer and go to Printer Properties → Ports.
-
Rename & Share the Printer
- Rename it (e.g., Receipt Printer, Kitchen Printer).
Share the printer and use the same name for General Name and Shared Name to avoid confusion.
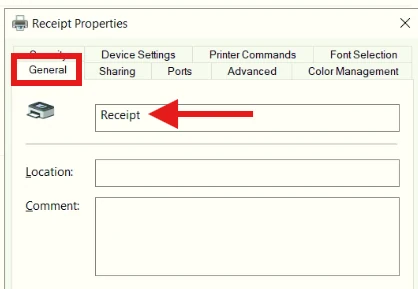
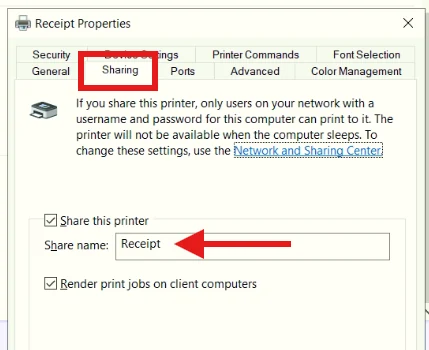
- Rename it (e.g., Receipt Printer, Kitchen Printer).
-
Add Printer in PushPOS
- Log in to the POS as Admin → Go to Settings → Printers.
Enter the printer name (same as the General Name).
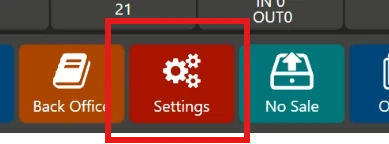
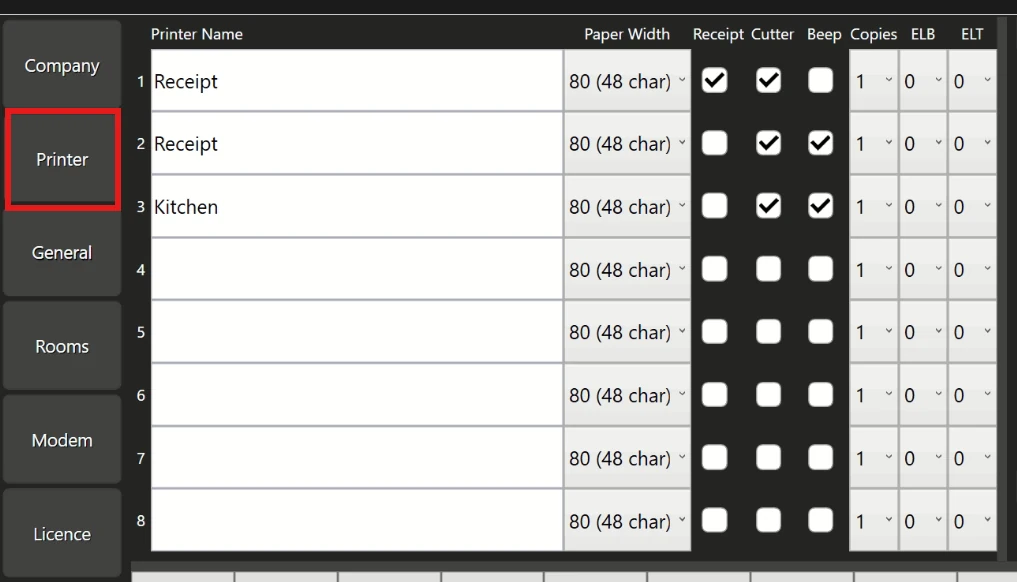
- Log in to the POS as Admin → Go to Settings → Printers.
-
Test Printing
- Create a test order on both POS and Online Order
- This confirms everything is connected and printing correctly.
Note:
To install multiple Bluetooth printers, follow these steps:
- Turn off all printers except the one you want to install first.
- Complete the installation for the first printer.
- Turn off the installed printer.
- Repeat the process for each remaining printer, one at a time.