
Setup Printing Via Ethernet
Steps
- Physically connect the printer to the network using an Ethernet cable and power it on.
- On the printer, perform a self-test / network configuration print (usually from the printer’s menu).
- Write down the printer’s IP address shown on that printout.
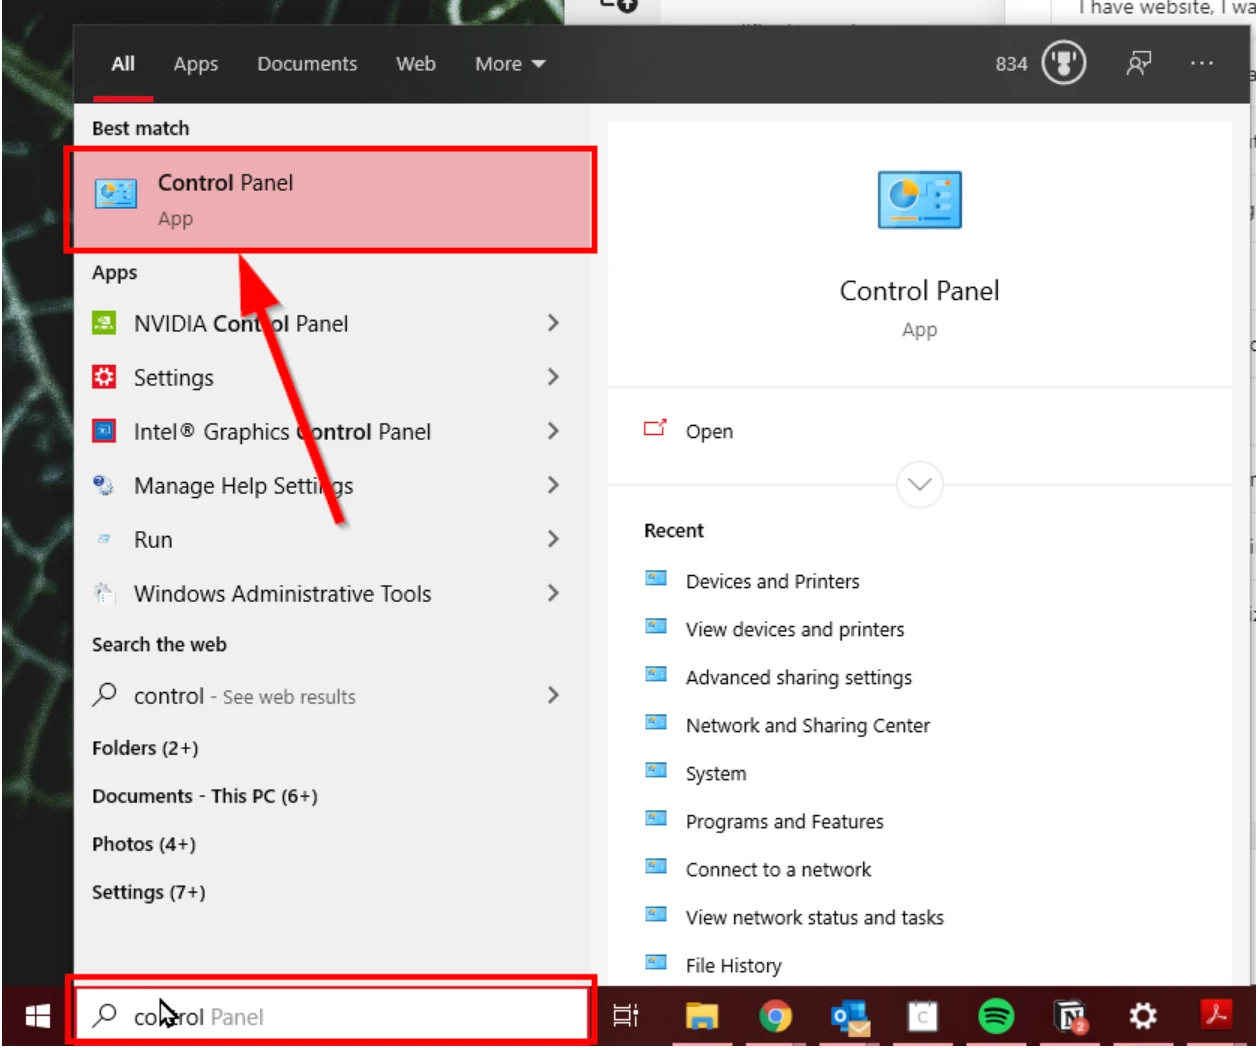
- On your Windows device open Control Panel
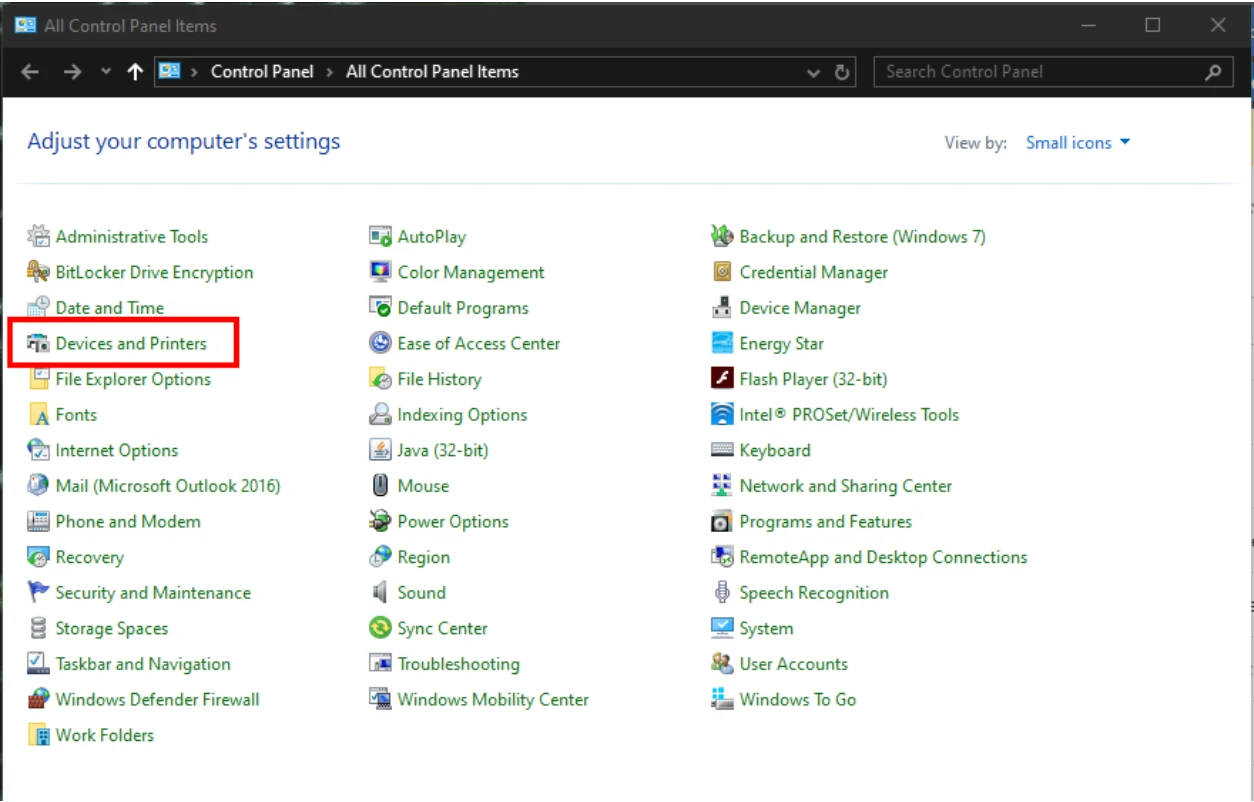
- View Devices and Printers
- Click "Add a printer"
- When Windows searches, choose “The printer that I want isn’t listed.”
- In the popup select “Add a printer using a TCP/IP address or hostname” and click Next.
- Change Device type to TCP/IP Device.
- In Hostname or IP address enter the IP address you got from the self-test print. Click Next.
- When prompted for the device driver, choose Standard → Generic Network Card (or if a specific driver for your model is available, you can install that instead). Click Next.
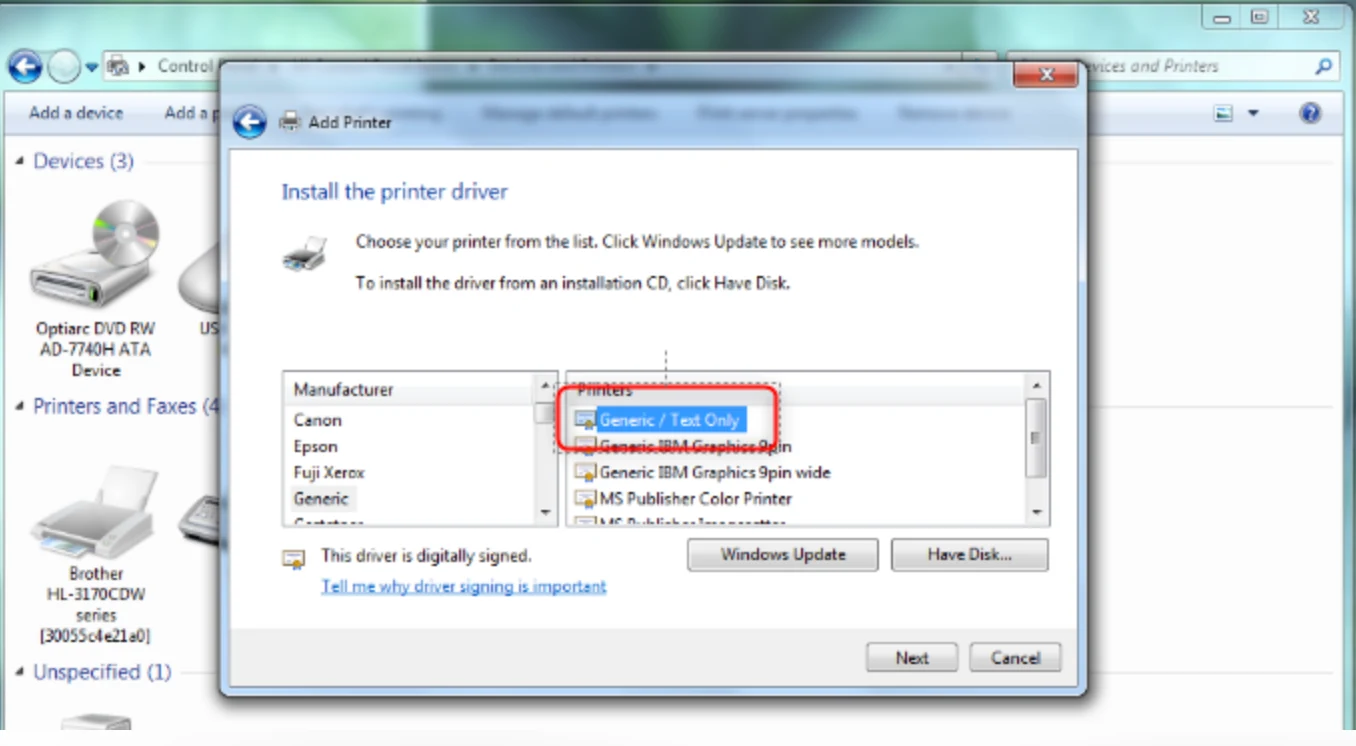
- On the next screen choose Manufacturer: Generic and Printers: Generic / Text Only. Click Next.
- If prompted about replacing drivers, choose Replace the current driver (or install driver if needed). Click Next.
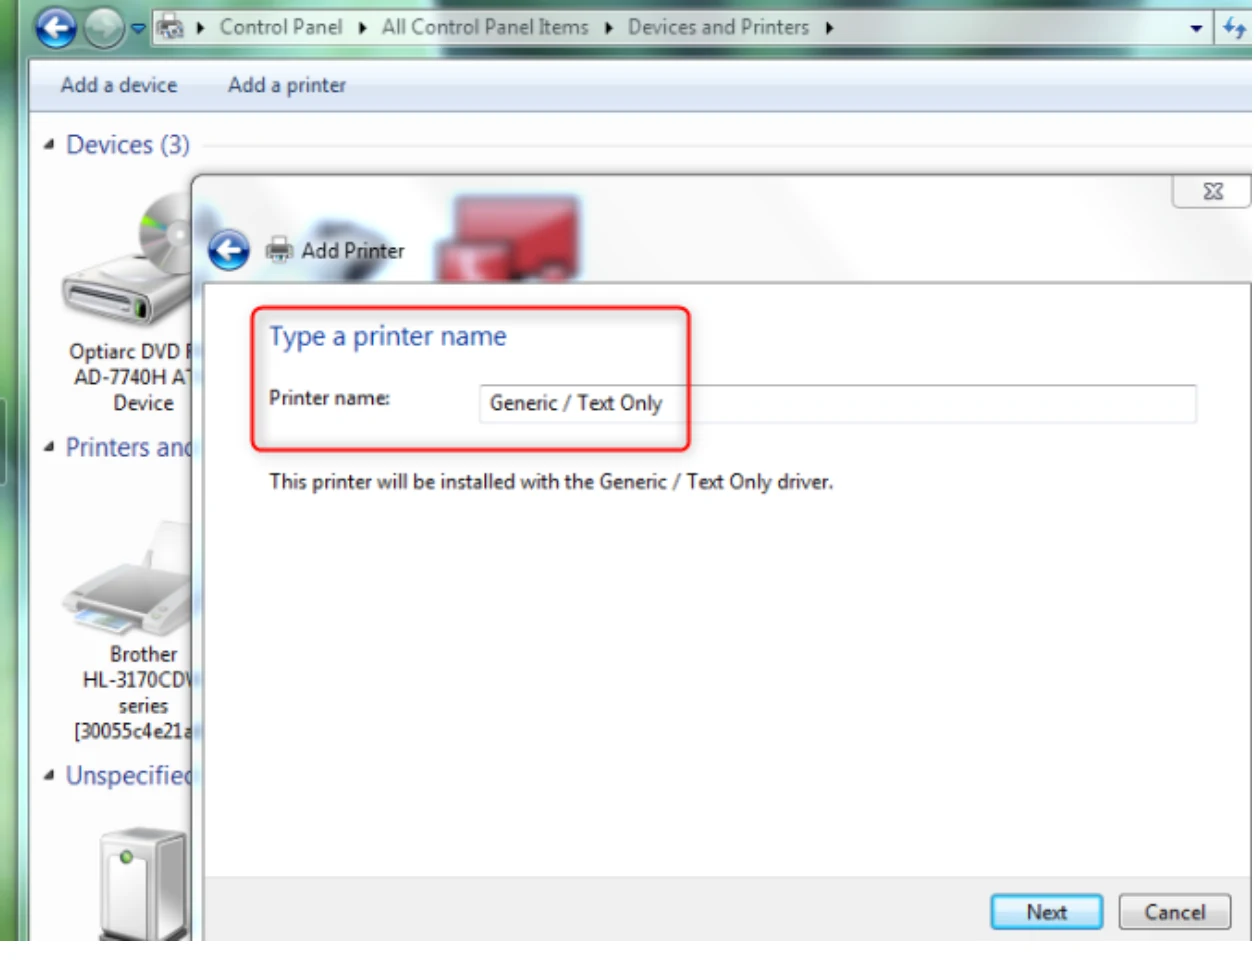
- Update the Printer name to a friendly name (e.g.,
Office Printer - Kitchen) and click Next.
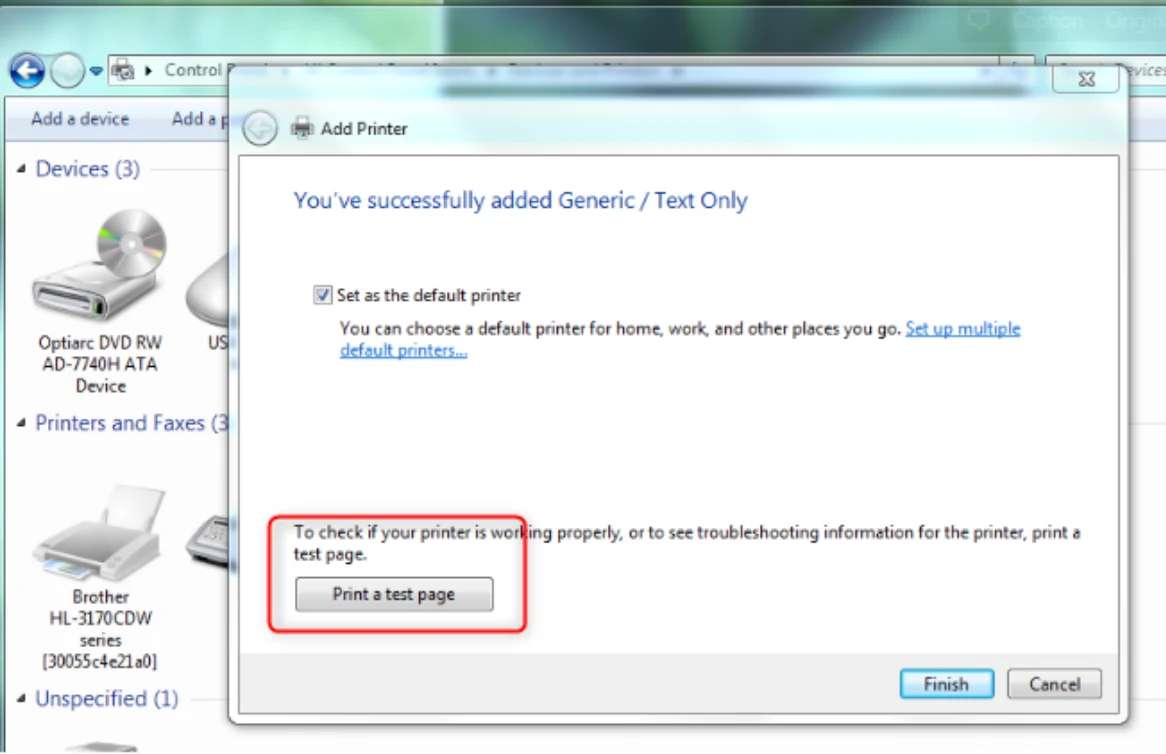
- Click Print a test page to confirm the printer is reachable and prints.
- If the test page prints, click Finish.
We are happy to remotely set up your printer for you. We know this is a step that can trip up many people due to every printer being a bit different. Please get in touch with us if you need assistance.